

There is no shortage of options when it comes to watch boxes, but not many of them let you customize it without getting it from “build to order” vendors. However, there are other ways to build one yourself with a pre-made box such as Pelican cases.
For this DIY watch box, I opted for the Pelican 1400 Protector Case – large enough to fit more than ten watches if you plan the layout correctly and costs less than $100.
The Pelican 1400 Protector Case is quite spacious with an interior size of 11.8” x 8.9” x 5.2” and feels very solid. It will protect your watches from water, dust, and is very durable – a difficult case to crush.
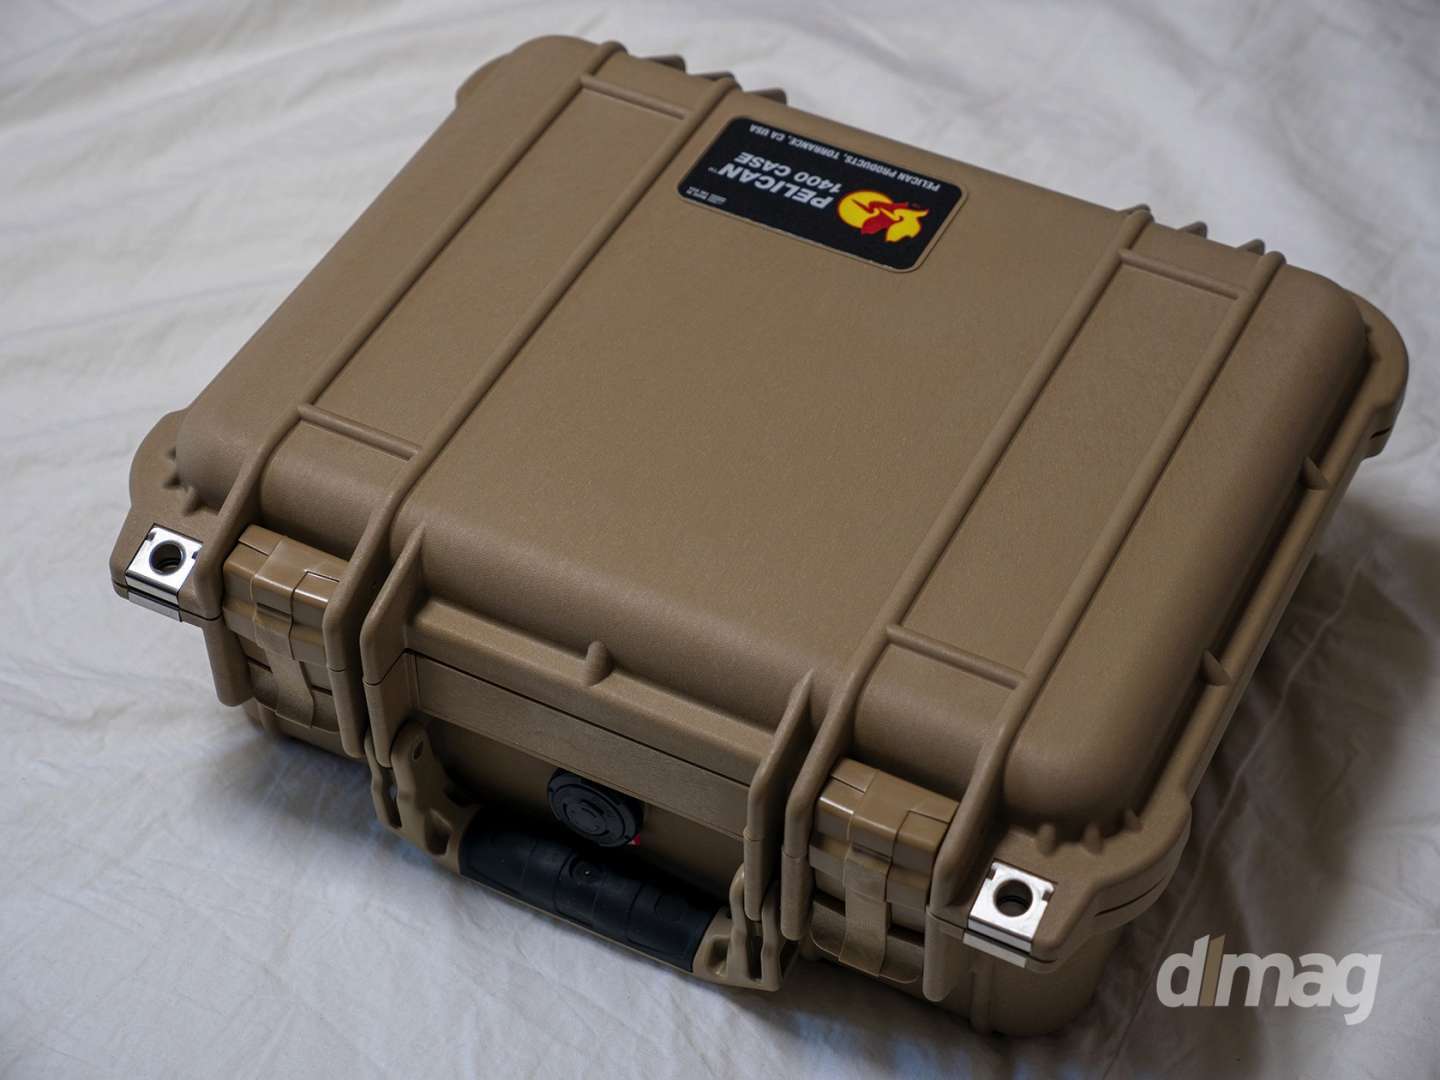
You probably don’t have to worry about those factors when storing your watches, but it never hurts to know that the case protecting your precious watches is built like a tank. It is available in six colors and comes with internal foam.
The middle section of the foam is where we will be cutting to provide padded watch storage – and the 1400WF model that I bought comes with “PICK N PLUCK” foam so you don’t have to use a cutter to make these storage spaces.
Before you start, it is best to understand the layout you want by drawing it up on a piece of paper. Make sure to leave enough spacing between the slots.
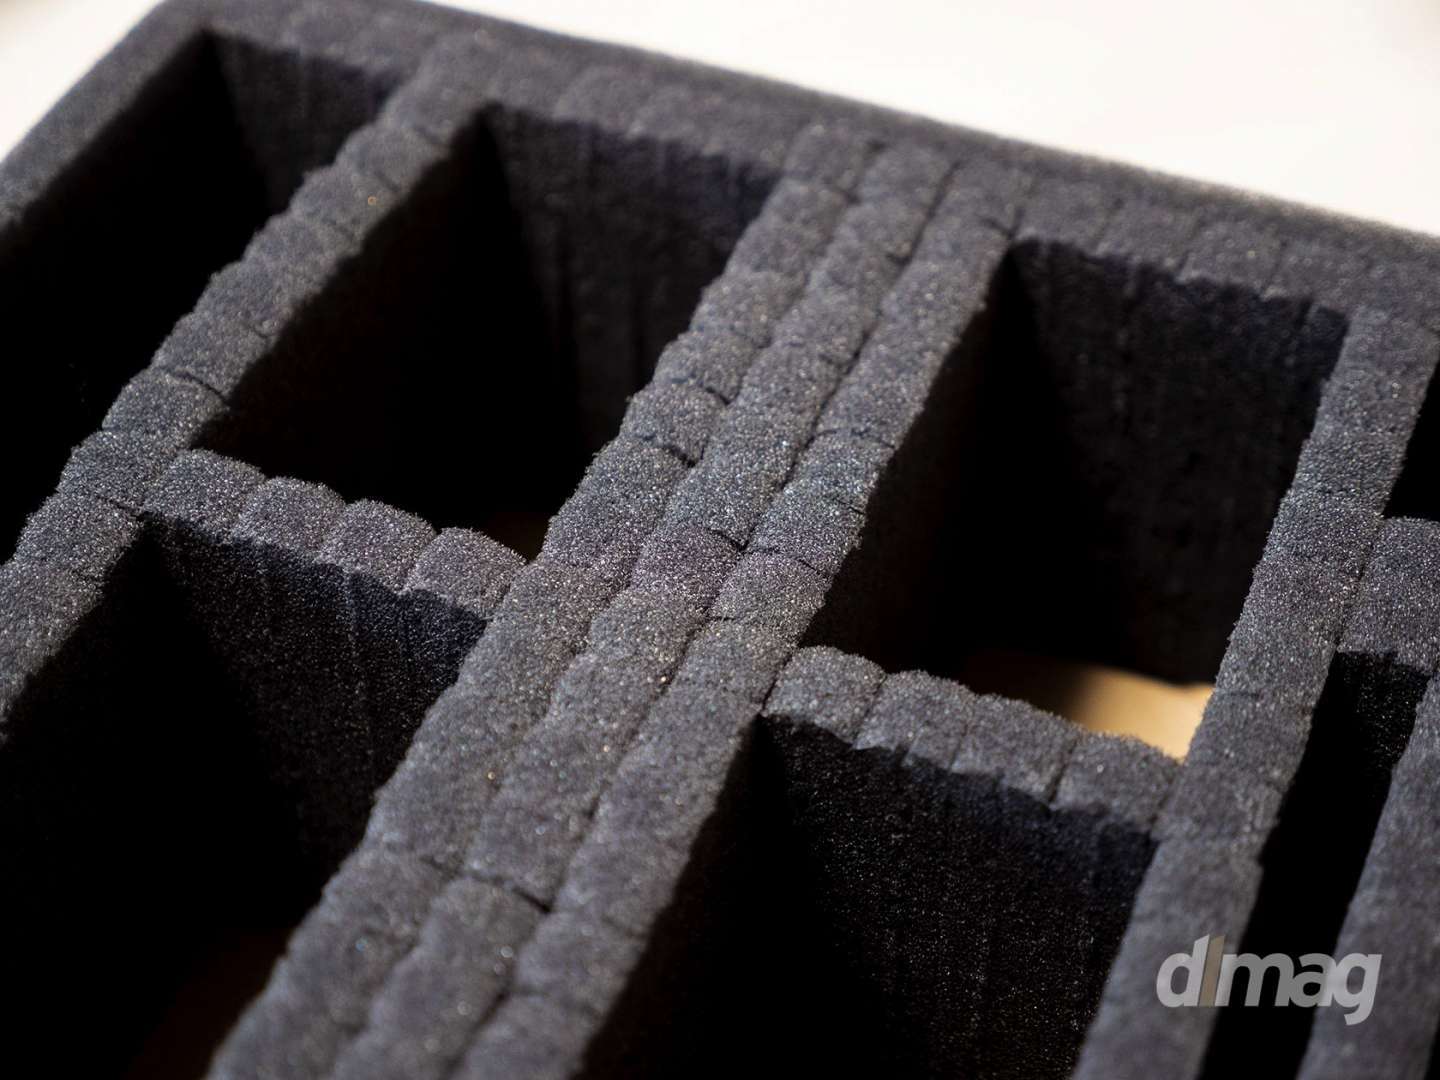
It’s best to have two foam spaces for each storage slot. Initially, I only used one padding space which end up being too wiggly. I made many mistakes on the first go around and had to start over with a brand new foam set costing around $36.95.
Once you pluck out the foam, you will need to cut out the one you plugged to the depth of the watch pillow itself and use the rest as your watch pillow. I had some pillows from my old watch case to reuse in this particular project.
The pillows I used had a height of 1.18″ and adding the strap and watch height, I decided to reduce the foam that I plugged out by 1.4″ in height, giving it enough depth to store the watch.

I do not like the idea when the case is closed that my watches’ crown or chronograph’s pusher will be pushed up against the foam, so I plugged out another 2 rows to the right to accommodate the watch crowns.
Being able to customize the layout, you can store more than watches – I also ended up creating some spaces to store important documents. The entire process took less than 30 minutes with planning and design taking the longest.
Planning the layout is probably the most important part of the DIY experience, not knowing where to “pluck” could cost you the entire foam.

Overall, I was happy with the result. As my timepiece acquisition grows, I can redesign the layout of the case by getting a new foam set rather than buying an entirely new case – although, one of these days I’ll need to get a bigger case.
If you do not want to do it yourself, there are vendors that sell pre-cut foam. But that defeats the purpose of being able to customize a layout. And, it’s no longer really a DIY project at that point.

5 Comments
Ryan
Where did you get those orange pillows? They look really nice and would go well with my orange pelican case.
Ewdison Then
I got it from Wolf, it is very well made
Cameron Aitkens
Does anyone know how many vertical strips the pluck foam actually comprises? Trying to plan layout using the amount of grid squares but unaware of how many there are for length and width of the 1400. Cheers
Jorge
Hey could you tell me what watches those are?
ewdi
I think it was 10mm?
Comments are closed.