

Those of us who spend a lot of time outdoors rely on equipment, like a hydration bladder, to keep us going for long stints at a time. Often, it’s not filled with only water, but you end up adding a carbohydrate mix or an electrolyte tablet for energy and minerals. The problem, and grossness, comes afterwards however when despite no matter how hard you try to keep your hydration reservoir clean, signs of mold and mildew inevitably spring forth.
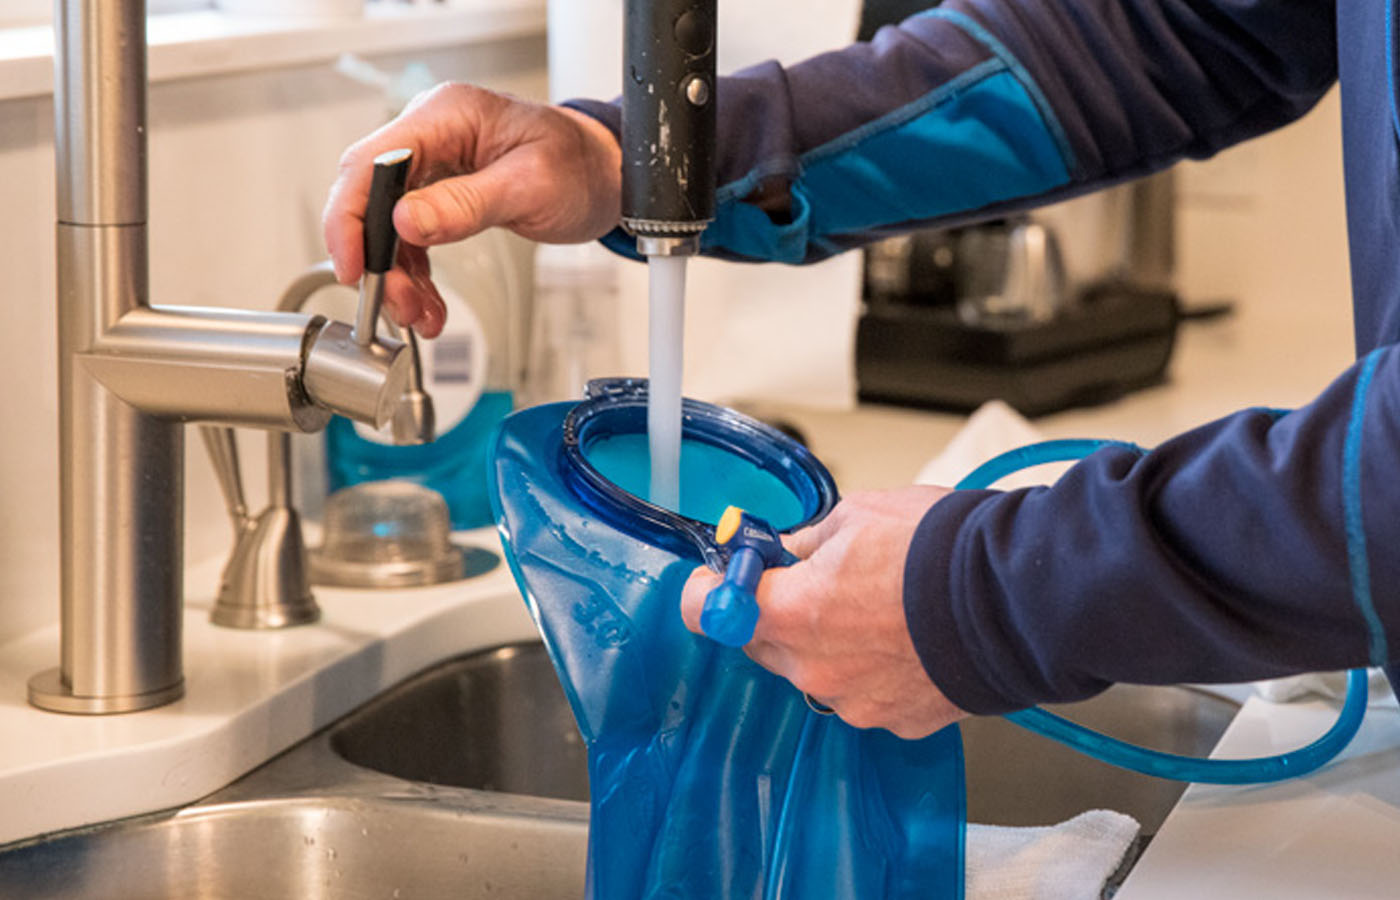
Washing your reservoir after use is a must and a first step in the cleaning process. But the trouble comes when it isn’t thoroughly dried out. Even a little bit of moisture remaining inside the bag will cause mold to grow. And if there are any residual sugars left over from sports powders and drinks, it’s pretty much just a matter of time as to when the funk and gunk arrives.
Best ways to dry your reservoir
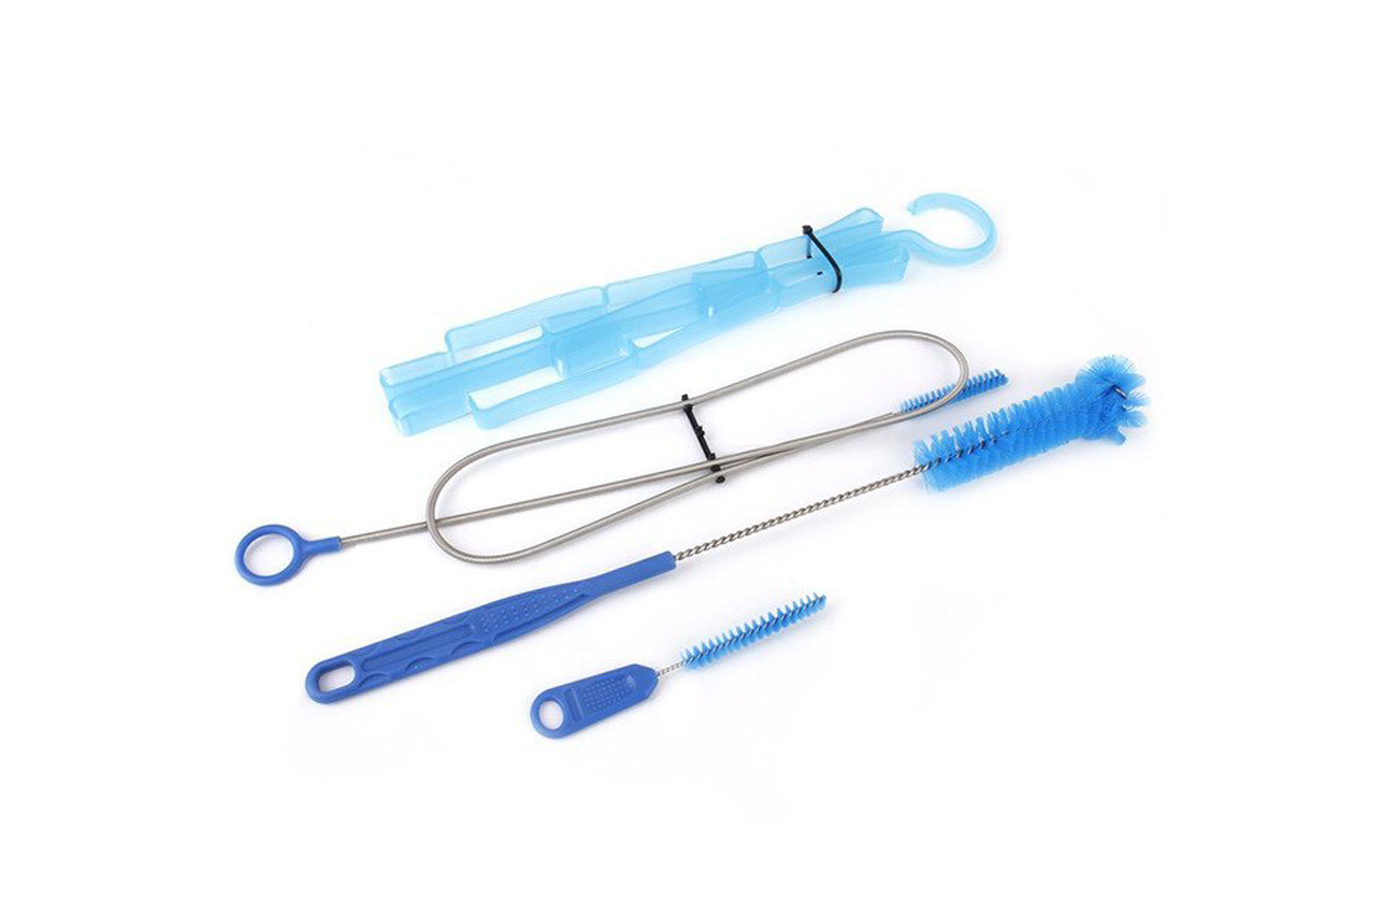
The easiest way to ensure that your reservoir dries properly is to flip it upside down or turn it inside out and keep the sides from touching each other. This can be achieved with a drying rack or by sliding over a wine bottle. It also helps to throw in a paper towel to help absorb water. It’s odd that not many people know of or buy cleaning kits for their reservoirs. There’s a Hydraulics Reservoir Cleaning Kit by Osprey for $24 USD, a Reservoir Cleaning Kit by CamelBak for $20 USD which include a drying tool. Don’t forest to take off the hose and bite valve, clean those too and dry.
Some people insist on filling a hydration pack with water and storing it in the refrigerator after every use. But it’s not recommended. As the material needs to experience drying. And if you don’t wash it after every single use, wash it at least a hand full of times throughout the course of a year to help prevent bacteria from forming.
Different washing methods for your hydration bladder
Check to see if your pouch can be thrown on a rack in the dishwasher, because not all of them can handle it. HydraPaks are convenient, for example, because they can be placed on the top-shelf of a dishwasher with the rest of your dishes after dinner and be cleaned like that. This makes maintaining a bladder its easiest.
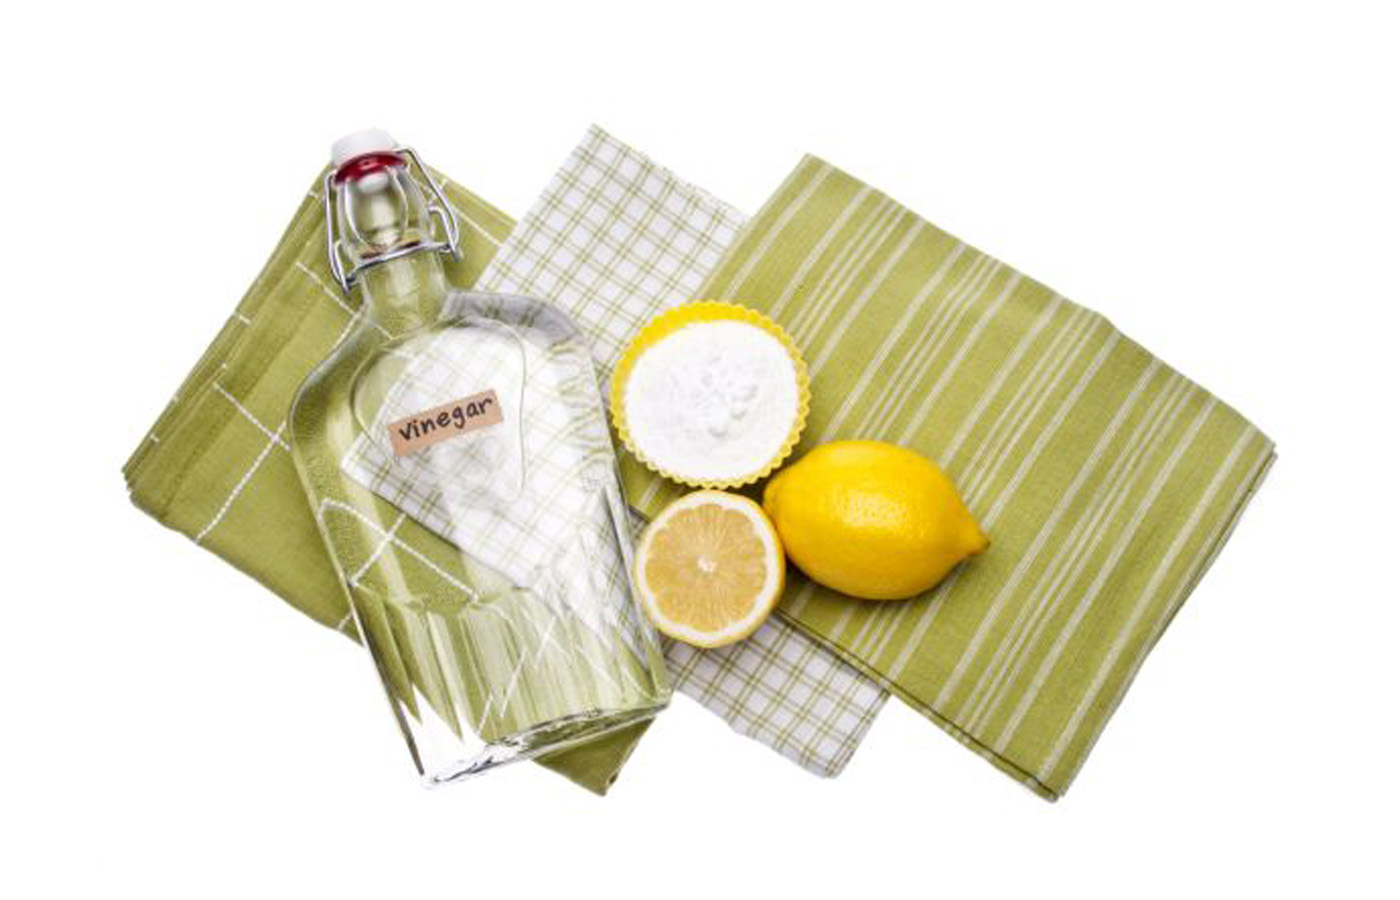
If it’s not dishwasher-safe, you’ll need to clean it by hand. Bladders in this category include CamelBak, Osprey, Platypus, Gregory, and more that are out there. For these, you’ll want to use hot water (and not boiling) water with soap or a more natural detergent like baking soda, vinegar. In the case of the latter, fill up the bladder half way with hot water and add a teaspoon of baking soda or white vinegar. Allow it to soak for a quarter of an hour prior to rinsing.
Let the other components of the bladder soak in a bowl of hot soapy water, or with the likes of baking soda or vinegar. The cleaning kits come with a slender piping brush to push through the delivery tube for cleaning.
The other option is to use a hydration bladder cleaning tablet. Think of it like an Alka-Seltzer for you bag. It works by cleaning with tiny effervescent bubbles – which by the way is good for water bottles too. Just fill with hot water and add a tablet, and five to thirty minutes later … pour out the solution, rinse, and you’re good to go. Consider trying the bleach-based cleaning tablets by CamelBak for $12 USD, or the all-natural, biodegradable tablet by Bottle Bright for $8 USD.
Prevent mold growth by freezing
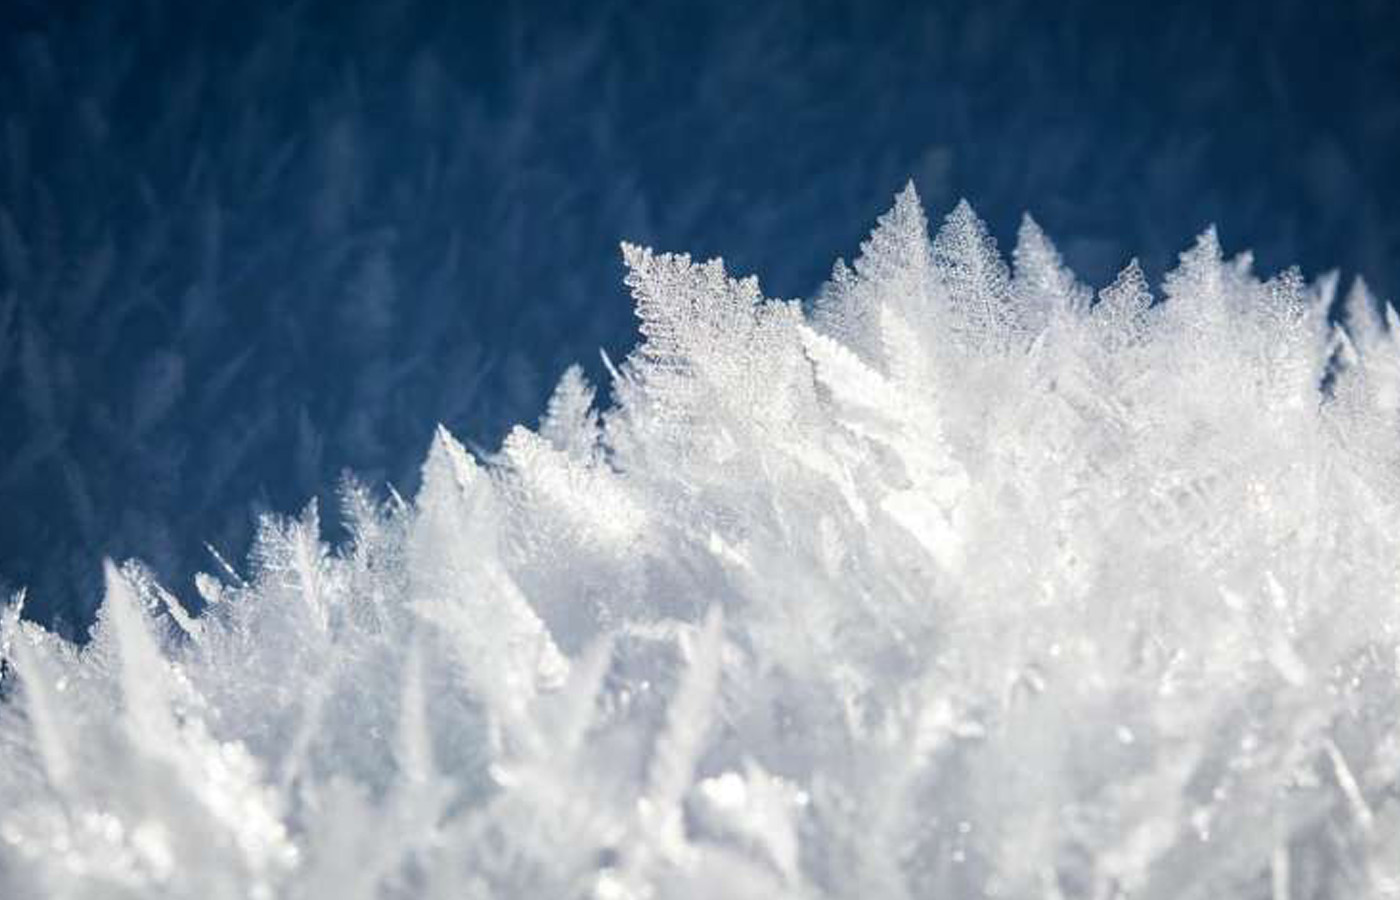
If you live in an exceptionally humid area, preventing mold growth on your bladder may be a loosing battle. In this case, it may be best to throw the bladder in the freezer in between uses. It’s an extra step, but an easy one. Simply wash and dry the reservoir and then stash it in the freezer along with the tube. The freezing method keeps any leftover sugar or moisture growing bacteria or mold.


1 Comment
hydration bladder
Great Resource to find the best way to take care of hydra pack
Comments are closed.