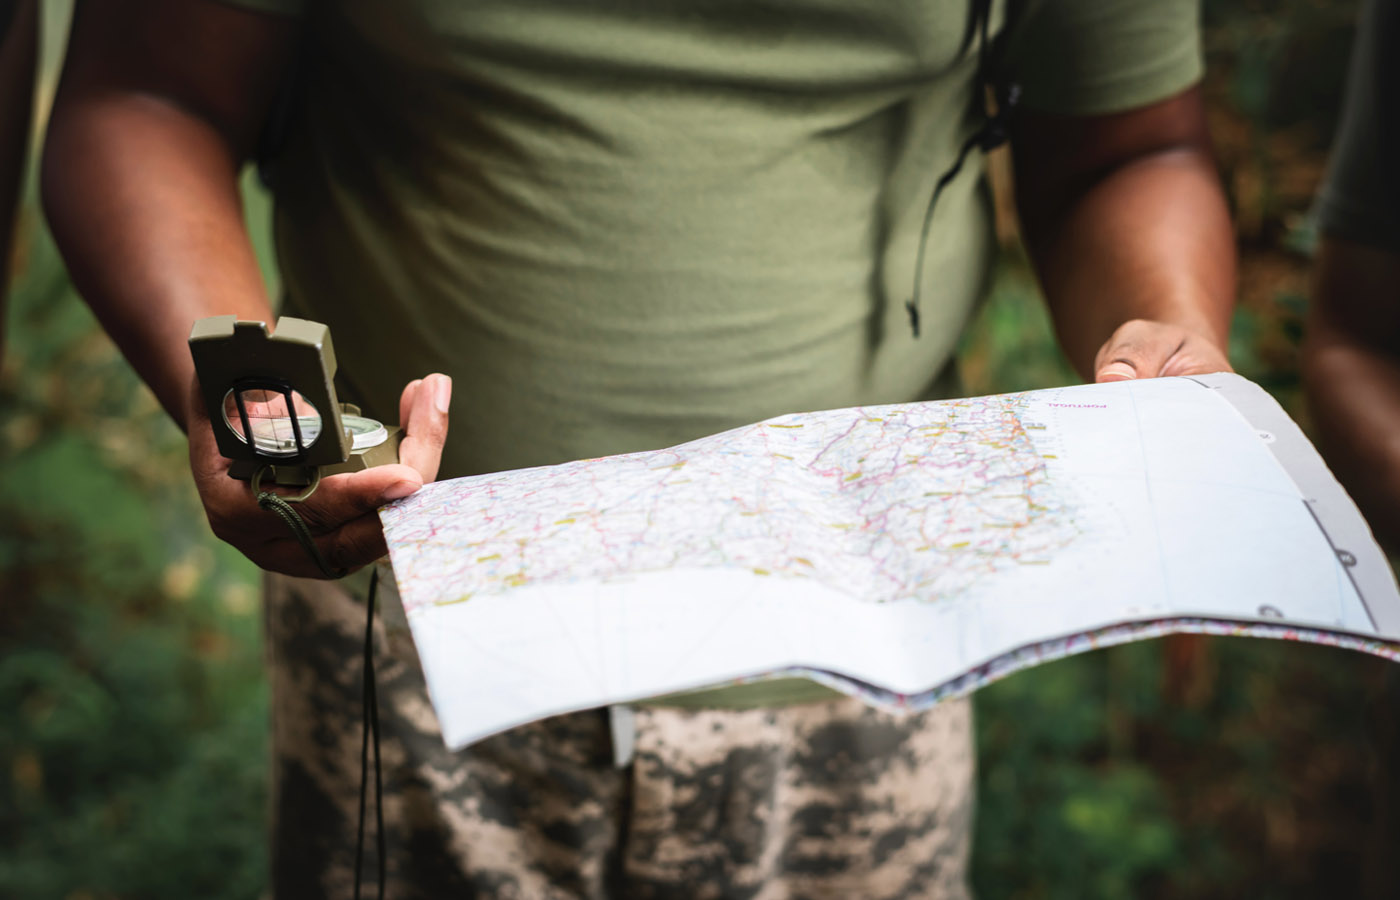
Combining a compass with a good map are outdoor essentials. No matter how you cut it, knowing how to use a compass to get yourself out of a lost and sticky situation is, hands down, a good thing. Call me crazy, but learning some basic survival skills is pretty fun. You can practice in your backyard or on a city street – oh, and don’t let others tell you that you’re being overly paranoid, because you’re not. Knowledge is only empowering.
The parts of a compass
In order to understand how to use one, you need to know the parts of a compass.
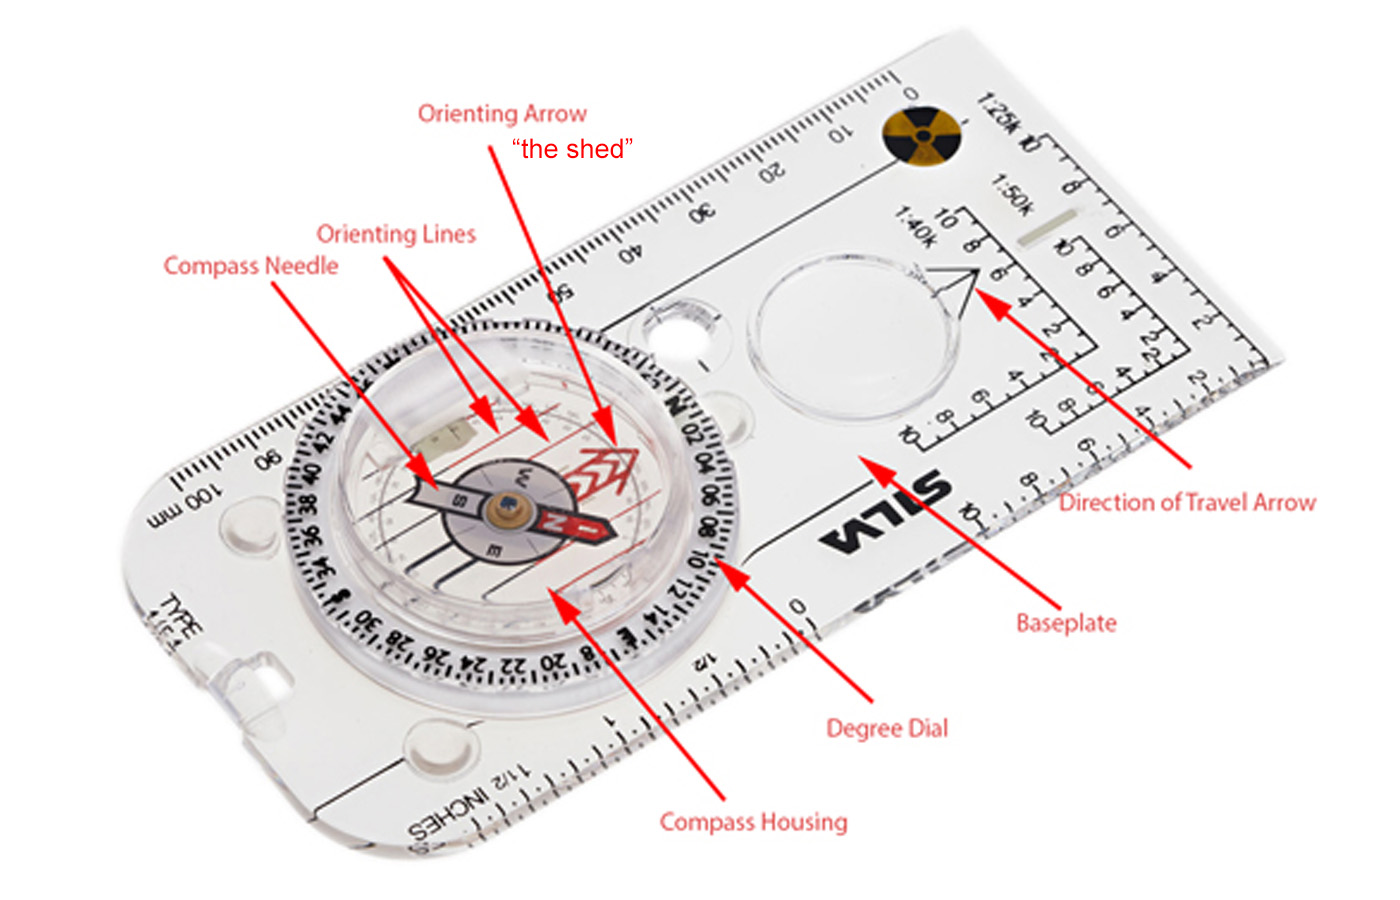
The Baseplate – it’s clear so you can see the map below it. The baseplate always has one straight edge that you’ll use later for taking bearings. Also along the edge is a ruler that you use in combination with the map scale to help you calculate distance.
Direction of Travel Arrow – to remind you which way to point the compass when you take a bearing.
Rotating Bezel – the big circle is marked with degrees in a clockwise direction from 0 to 360.
Index Line – a little marker above the bezel which marks where you’ll read your bearing.
Magnetized Needle – inside the bezel the magnetic needle ALWAYS points to the magnetic northpole (NOT the true northpole).
Orienting Arrow – the big arrow inside the bezel which is used to help you orient the bezel. This is colloquially referred to as “the shed”.
Orienting Lines – inside the bezel and used to help you line up the compass with north on a map.
Declination Scale – some compasses have a declination scale which makes it easier to adjust declination.
Understanding Declination and Setting it
Declination is the angle of difference between True North and Magnetic North. Remember, the needle in your compass only points to magnetic north (which is currently over northern Canada). Your compass must be adjusted to account for the difference between the two. Depending on where you are, the declination is a certain number of degrees to either the west or the east.
Maps will have declination diagrams somewhere near the legend, and it’s important to have an up to date map as magnetic north changes over time. If you are using an older map, then be sure to look up the current declination online. Once you know the declination for your region. For example, say the declination in your area is 14 degrees to the east, you then put that into your compass by moving the orienting arrow 14 degrees to the east – then the needle will line up inside the orienting arrow, the north marker on the bezel will point to true north. (think “red is in the shed”)
Once the declination is set, the compass is ready to be used in conjunction with the map.
Taking a bearing
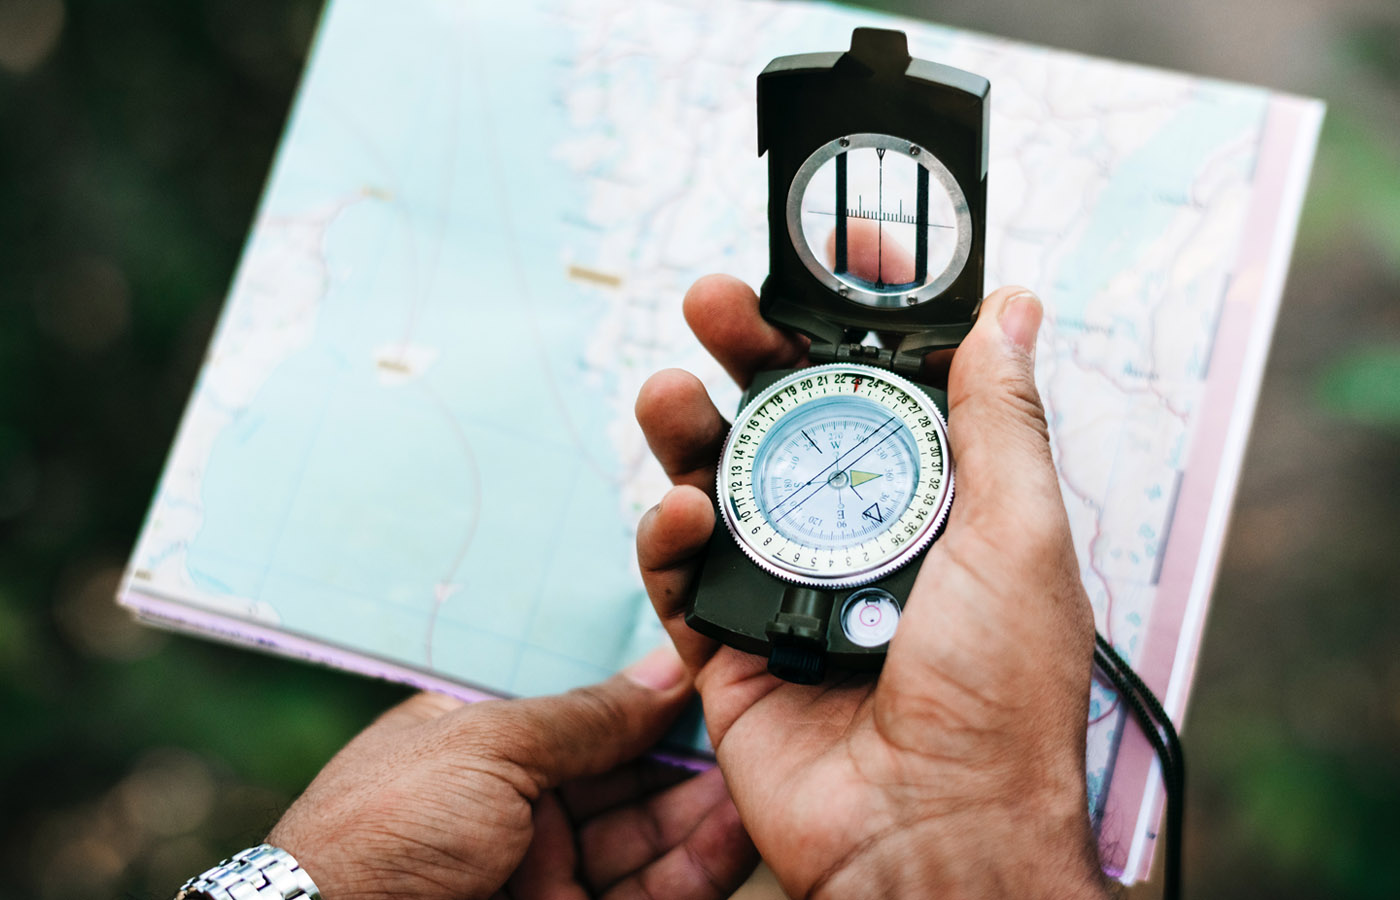
A bearing describes a direction in terms of degrees. Following a bearing is more precise than just going in an east or west direction. If you know where you are on a map and want to get to a destination, following a bearing is a simple process:
Start by finding your current location on a map, and then set your compass on top of the map so that the baseplate lines up with your position. Rotate your compass so that the straight edge lines up between your position and your destination, making sure that the direction of travel arrow is pointing towards the destination.
The next step is to rotate the bezel so that the orienting lines line up with north and south on the map (hint: use the edge of the map to help you line up the orienting lines). And make sure the “North” marker on the bezel is pointing north on the map (not south).
Look at the index line to read the bearing captured. Voila, there is your bearing.
Use the compass to follow your bearing
Hold the compass in front of you with the direction of travel arrow pointing away from you. Next, rotate your whole body so that the north side of the magnetized needle is inside the orienting arrow.
Congratulations! You’re facing your bearing and your destination.